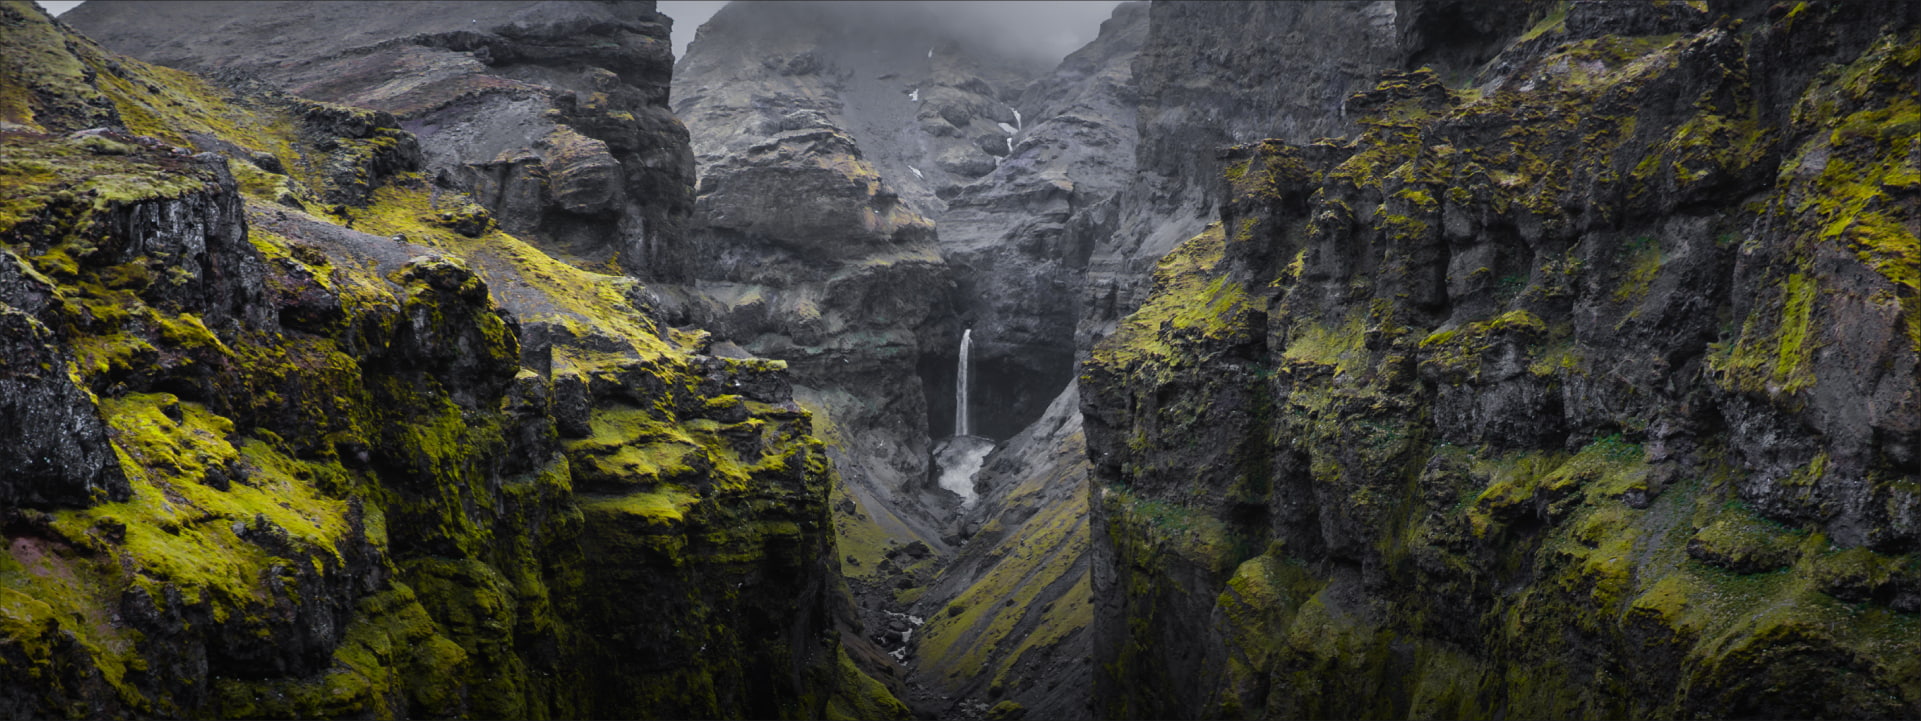
In this article we discuss how to use a Neutral Density filter to control shutter speed in video as well as controlling shutter speed to take a long exposure photograph.
1. Using a Neutral Density filter to control shutter speed in video
For videographers, neutral density filters are an indispensable part of their camera lens kit. Used to control shutter speed, neutral density filters allow the use of wide apertures like f/2.8 in bright environments, like when shooting under a harsh afternoon sun. By allowing the use of wider apertures, ND filters give videographers more creative control over their exposure parameters, like depth of field.
In low light scenes, most digital cameras are able to compensate when using a wide aperture by using a higher ISO value without adding noise to the composition. However, in bright afternoon scenes, shooting with a wide aperture to get a shallow depth of field can produce overexposed video. The idea with a neutral density filter when shooting video is to reduce shutter speed, dropping it to twice the camera’s frame rate, or as close as is possible. When shooting at 30fps, you’ll want to have a shutter speed of 1/60th to capture smooth motion that looks natural. If shooting 24fps, shoot at 1/50th.
A simple way of seeing the effect that a neutral density filter has when shooting at slower shutter speeds is to compare video shot with and without the ND filter, using the same shutter speed, frame rate, aperture and ISO values for both shots.
In bright light at 1/60th shutter speed, ISO at 100, and an aperture of f/2.8, for example, your video composition is going to be washed out, where no amount of post editing can bring back the raw data that wasn’t recorded in the first place. In this case, using a ND filter while using the same exposure values in camera will produce smooth, correctly exposed video that looks natural. For cameras with fixed apertures like the DJI Mavic drone series and Autel’s EVO drone, as well as many GoPro style action cameras, ND filters are crucial since these drone and action cam sensors often pick up too much light in broad daylight, resulting in blown out footage.
2. Using a Neutral Density filter to take a long exposure photo
This requires a neutral density filter that is strong enough to slow camera shutter speed to create exposure times of 30 seconds or more. 10 stop ND filters are a popular choice to achieve such a long exposure. Common long exposure subjects include moving water (rivers, waterfalls, waves), clouds, city traffic, moving leaves on trees, grasslands and any other tall vegetation that moves in the wind. You can also take long exposures with ND filters to illustrate moving light, such as fireworks, and of course, the changing colors of sunsets and sunrises. The idea for all of these examples is to capture in one frame the fluid movement of each subject over a long period of time. Any moving subjects in your frame will appear to be fluid, silk-like or ghost like, while the still subjects in the frame will remain sharp. This creates a compelling juxtaposition that can turn an ordinary composition into art.
For a step by step guide outlining techniques and equipment for taking a long exposure, check out our post on ways to use long exposure filters.

Share:
How to Shoot with a GoPro Dome
5 Ways to Photograph Landscapes and Cityscapes with Long Exposure ND Filters