.svg)
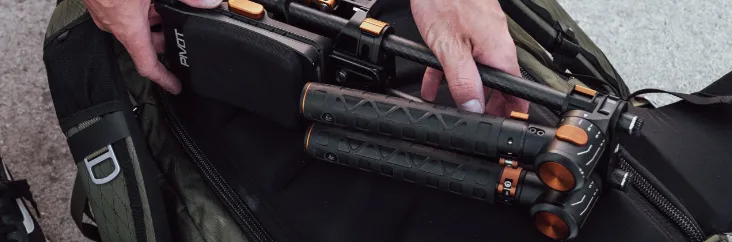

On our recent jaunt to the Oregon coast to shoot a video on creating a drone hyperlapse, we also brought along the DJI Ronin-S and a Panasonic GH5, and the Ronin-S has quickly become our favorite new handheld gimbal. Combined with a small DSLR or mirrorless camera, it’s lightweight, portable and easy to operate, so even beginners can use it to capture pro-style gimbal shots.
Today, we’d like to share five easy camera movements that you can use with the Ronin-S to create cool and visually meaningful in-camera transitions to combine your video scenes together into a masterful final cut.
The strafe block involves using a foreground object to cover up or blur the end of one frame and transition to reveal the next scene or clip. For this transition to work, you will need to start in one location and end in another. A stark contrast between scenes can create an interesting juxtaposition, or use two similar scenes for a quick, natural cut. Check out the example below.

With this transition, you’ll push in on a subject to completely cover your frame, and then pull out to reveal a new subject (or the same subject) in a new scene. These can look cool as transitions between quick clips, creating a sense of montage as you cut from one subject to another while maintaining a sense of continuity.
Our editors aptly refer to this next in-camera transition as “the Skyfall,” as it involves starting on a subject and then tilting the camera up at the sky to create a sort of rising or uplifting sensation before tilting back down to reveal a new subject and/or location. (It’s also a killer spy movie, we know).

This transition is most effective when your subject is up close in the foreground, but with a zoom lens, you can focus on faraway subjects as well. Changing up your depth of field between scene transitions can build a sense of scale from one scene to the next, and can help structure your final cut.
To accomplish this shot, first set your Ronin-S to flashlight mode, and your gimbal control settings from tilt to roll. To make the shot, roll the camera 360 degrees, splitting up the rotation of the camera between the two different clips. In the example from our video, we split up our transition almost evenly between the end of the first clip and the beginning of the second clip, but you don’t have to split the shot evenly. For example, a particular transition from scene to scene might look more natural if you roll the camera only 90 degrees for the first segment, and then begin the second segment of your transition by completing the remaining 270 degrees back to normal camera orientation. To create a different sense of flare in your roll, pull on the gimbal with your free hand at the start of the roll to make it roll off-axis. The dizzying effect is both mesmerizing and disorienting and is often applied in more creative content like making a music video.

This last transition involves making a fast pan with the Ronin-S to create motion blur to seamlessly connect two clips together. You’ll first need to whip your Ronin-S at the end of the first clip, and then again at the beginning of the next clip to complete the transition. For a smooth and consistent effect, make sure that you make your whips at the same speeds and for a similar amount of distance and time.

In action
These transitions can be used as aesthetic devices to create a certain mood in your edit, but you can also use each of these transitions sequentially or independently to create a repetition that hooks your viewer until the end. This can be easily overdone, however, and can disorient your audience, so make sure you’re using each transition for a reason. No need to philosophize here, simply ask yourself, how does this specific transition relate to your starting scene and end scene? If your transitions have visual meaning, it’ll make the whole of your video that much stronger and cohesive.
Equipment Used
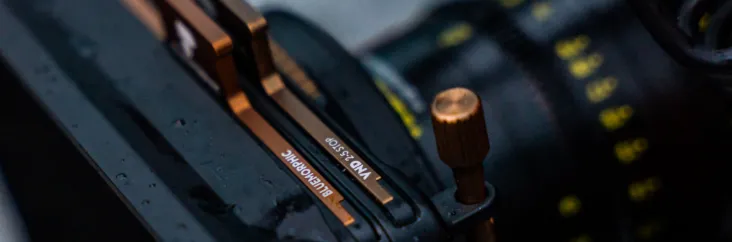
On our trip to Oregon, we used high quality, color neutral ND filters of various strengths to capture some of our shots in brighter conditions, but for the most part there was minimal lighting to work with, so we used our Quartzline UV filter. On any trip, it’s smart to bring a variety of filters to help achieve the exposure parameters you’re looking for and also to save you loads of labor in post-production. Check our Quartzline filters out here.
Here’s a list of the gear we brought on this trip:
- Panasonic GH5 camera
- Lumix 12mm-35mm lens
- Quartzline Step-Up Ring (58mm>67mm)
- Quartzline filters (67mm): ND8, ND16, ND64, CP, and UV
Please share your questions and thoughts below, we’d love to hear from you, and also be sure to check out our video illustrating each of these transitions with the Ronin-S handheld gimbal and Quartzline filters.